Guides
Part of Modems, routers, Wi-Fi, and wired links: home networking basics explained
Set Up Home Router Security: Key Areas to Review
Learn how to set up home router equipment securely: document connections, update firmware, protect Wi-Fi, group devices, and check network access.
What to take away
- Map the provider box, router, access points, switches, cables, and port roles before disconnecting anything.
- Change administrator credentials separately from the Wi-Fi network password.
- Update firmware and use current supported wireless encryption.
- Add devices in groups, record them, and test both internet and local services.
- Save recovery information and a known-good configuration before relying on the network.
When you set up home router equipment securely, the process can interrupt phones, work, cameras, alarms, and entertainment. Schedule a window, notify household members, and keep a mobile connection available for documentation when possible. Securing the phones and computers that reconnect afterward is a separate session, covered in how to harden personal devices and accounts.
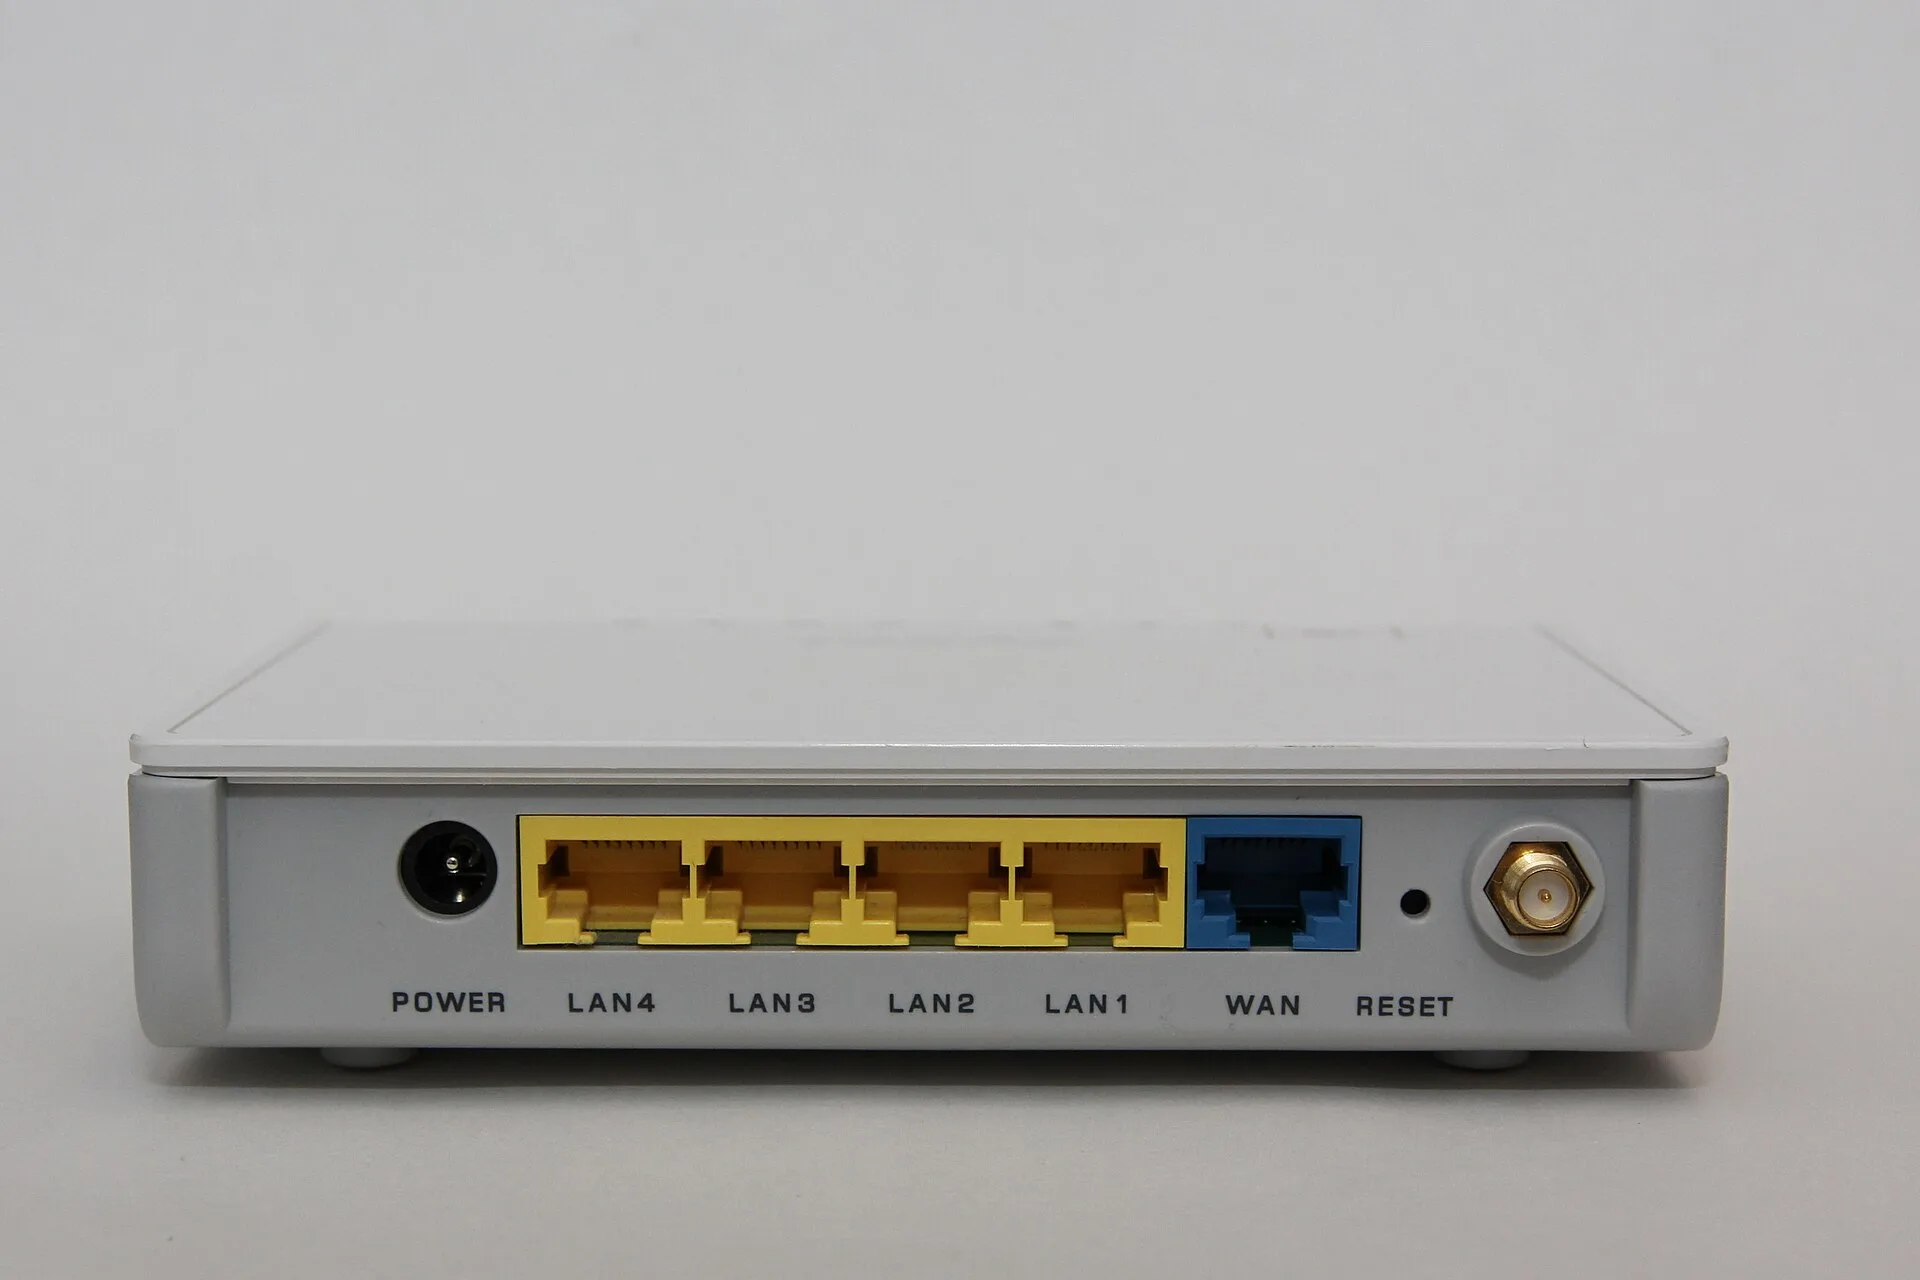
Follow the internet provider and router manufacturer. Do not use a generic port diagram as proof of your model's layout. Which box performs routing, address assignment, and Wi-Fi is explained in home networking basics.
Step 1: record the existing service
Photograph every cable and label both ends. Record provider, plan, account support number, modem or optical-terminal model, router model, access-point models, and which device supplies DHCP, routing, and Wi-Fi.
Run a baseline wired test and a Wi-Fi test in each important room. Record download, upload, latency, device, time, band, and location. These figures are diagnostic evidence, not a guarantee of future speed.
Step 2: choose the operating arrangement
Decide whether the provider gateway or your router will handle routing. Two routers in series can create double NAT, which may interfere with some games, inbound connections, and remote access. Bridge or access-point modes are model-specific and can disable provider services, so confirm before changing them.
Who handles routing?
Provider gateway or your router?
one router, no double NAT
bridge or access-point mode
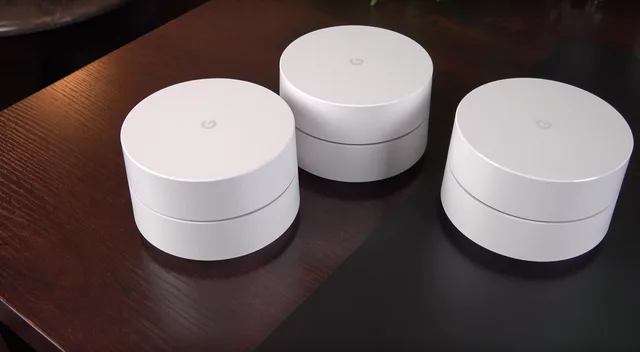
Place the primary router or access point in an open location near the users. Do not hide it in a metal cabinet or stack it on hot equipment. Whether one access point is enough, or the home needs wired nodes or mesh, is weighed in Wi-Fi, Ethernet, mesh, and range extenders compared.
Step 3: make the physical connection
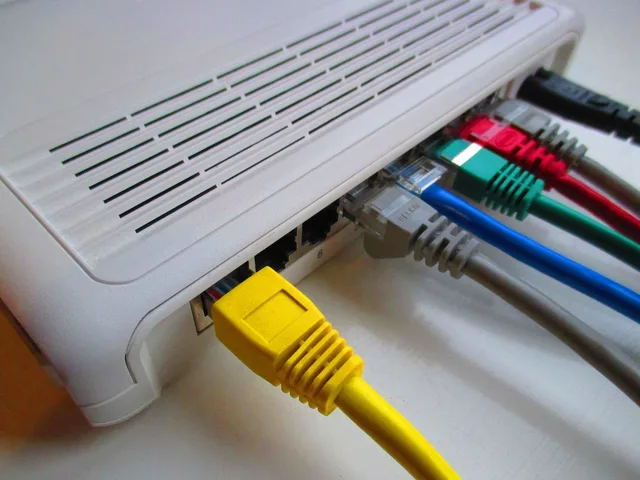
Turn off equipment in the sequence the provider specifies. Connect the provider-facing port to the modem or optical terminal. Connect local wired devices to LAN or switch ports, not an unverified management or console port.
Power-on and cabling order
- Turn off equipment in provider order
- Connect provider-facing port to modem
- Connect wired devices to LAN ports
- Use rated, undamaged cables
- Power on in documented order
- Let each stage finish starting
Use rated, undamaged cables. Power the equipment in the documented order and allow each stage to finish starting. Repeatedly cycling power before registration completes can prolong the outage.
Step 4: secure router administration
Open the router's supported app or local management address. Verify the certificate or app publisher rather than following a search advertisement. Change the default administrator username where possible and set a unique administrator password.
Lock down admin access
- Open supported app or local address
- Verify certificate or app publisher
- Change default admin username
- Set unique admin password
- Disable internet-facing remote admin
- Turn on MFA if offered
Disable internet-facing remote administration unless you have a defined need and supported secure method. Review who has administrator access, turn on multi-factor authentication if offered, and log out after changes. Which second factor to enable where the router offers one is compared in passwords, passkeys, and MFA compared.
Step 5: update firmware
Check the current firmware version against the manufacturer or provider channel. Use automatic signed updates when the product supports them reliably. Keep stable power during manual updates and do not close the process because progress appears paused.
If the device no longer receives security fixes, plan replacement instead of treating one configuration change as permanent protection.
Step 6: configure Wi-Fi
Use WPA3 Personal when every required device supports it, or a supported WPA2/WPA3 transition mode where compatibility demands it.
Wi-Fi security modes
WPA3 Personal
- Forward secrecy
- Yes
- Device compatibility
- Newest only
- Use today
- Preferred
WPA2/WPA3 transition
- Forward secrecy
- Partial
- Device compatibility
- Broad
- Use today
- If needed
WEP
- Forward secrecy
- No
- Device compatibility
- Legacy
- Use today
- Never
WPA3 replaces the pre-shared-key exchange of earlier generations with Simultaneous Authentication of Equals, adding forward secrecy. WEP has documented weaknesses serious enough that it should never carry a modern network. Avoid open networks and deprecated cipher settings for the same reason.
Set a unique network name that does not reveal the family name, address, or router model. Create a long, unique Wi-Fi password. Keep band names unified or separated according to the router system and actual device behavior, not habit.
Step 7: control convenience features
Review WPS, UPnP, port forwarding, dynamic DNS, cloud administration, and automatic device discovery. Disable features without a known purpose. If a game or service needs a port rule, document the device, protocol, port, owner, reason, and review date.
Never expose a camera or storage device directly to the internet merely to avoid learning its supported remote-access method.
Step 8: create network groups
Use a guest network for visitors. If the router supports meaningful device isolation, consider a separate segment for cameras, appliances, and other connected products that do not need access to personal computers.
The FTC's guidance for internet-connected devices at home recommends starting with the router, checking connected-device lists, replacing default device credentials, using two-factor authentication, enabling security features, and keeping device software current. Apply these steps to each product, not only the router.
Step 9: join devices in batches
Add one category at a time:
- administrator computer and phone;
- fixed computers and printers;
- personal mobile devices;
- entertainment systems;
- smart-home devices; and
- guest test device.
Rename entries in the router inventory without exposing sensitive owner details. Unknown devices should be investigated before they are blocked, since random addresses and generic labels can make a familiar device look new.
Step 10: test boundaries and recovery
Confirm internet access, local printing, casting, calling, gaming, and remote work. Check that guests cannot reach private devices if isolation is intended. Test cameras from inside and outside without weakening firewall rules.
Save a supported configuration backup if available. Record the admin URL, firmware version, reset method, recovery procedure, Wi-Fi details, and provider support information somewhere accessible during an outage. Keeping that record current is the first section of the home network maintenance and security checklist.
Common questions
Should the modem and router share one password?
No. Use unique credentials for each administrative system and a separate password for joining Wi-Fi.
Should I press the reset button when setup fails?
Not first. A factory reset erases configuration and may remove provider or phone settings. Record the state and use ordinary restart and supported diagnostics first.
Does a guest network protect every private device?
Only if the router isolates it as intended and the devices do not share accounts or cloud access. Test the boundary.
Must I split 2.4 and 5 GHz into different names?
No universal rule applies. Coordinated systems often work best with one name, while some older devices need separate onboarding. Follow current model guidance and test roaming.