Guides
Part of Smart home systems under review: the good, the weak and the verdict
How to set up a smart home one reliable room at a time in 2027
Smart home setup guide for planning one room, preparing accounts and Wi-Fi, adding devices safely, building automations, testing outages, and documenting recovery.
What to take away
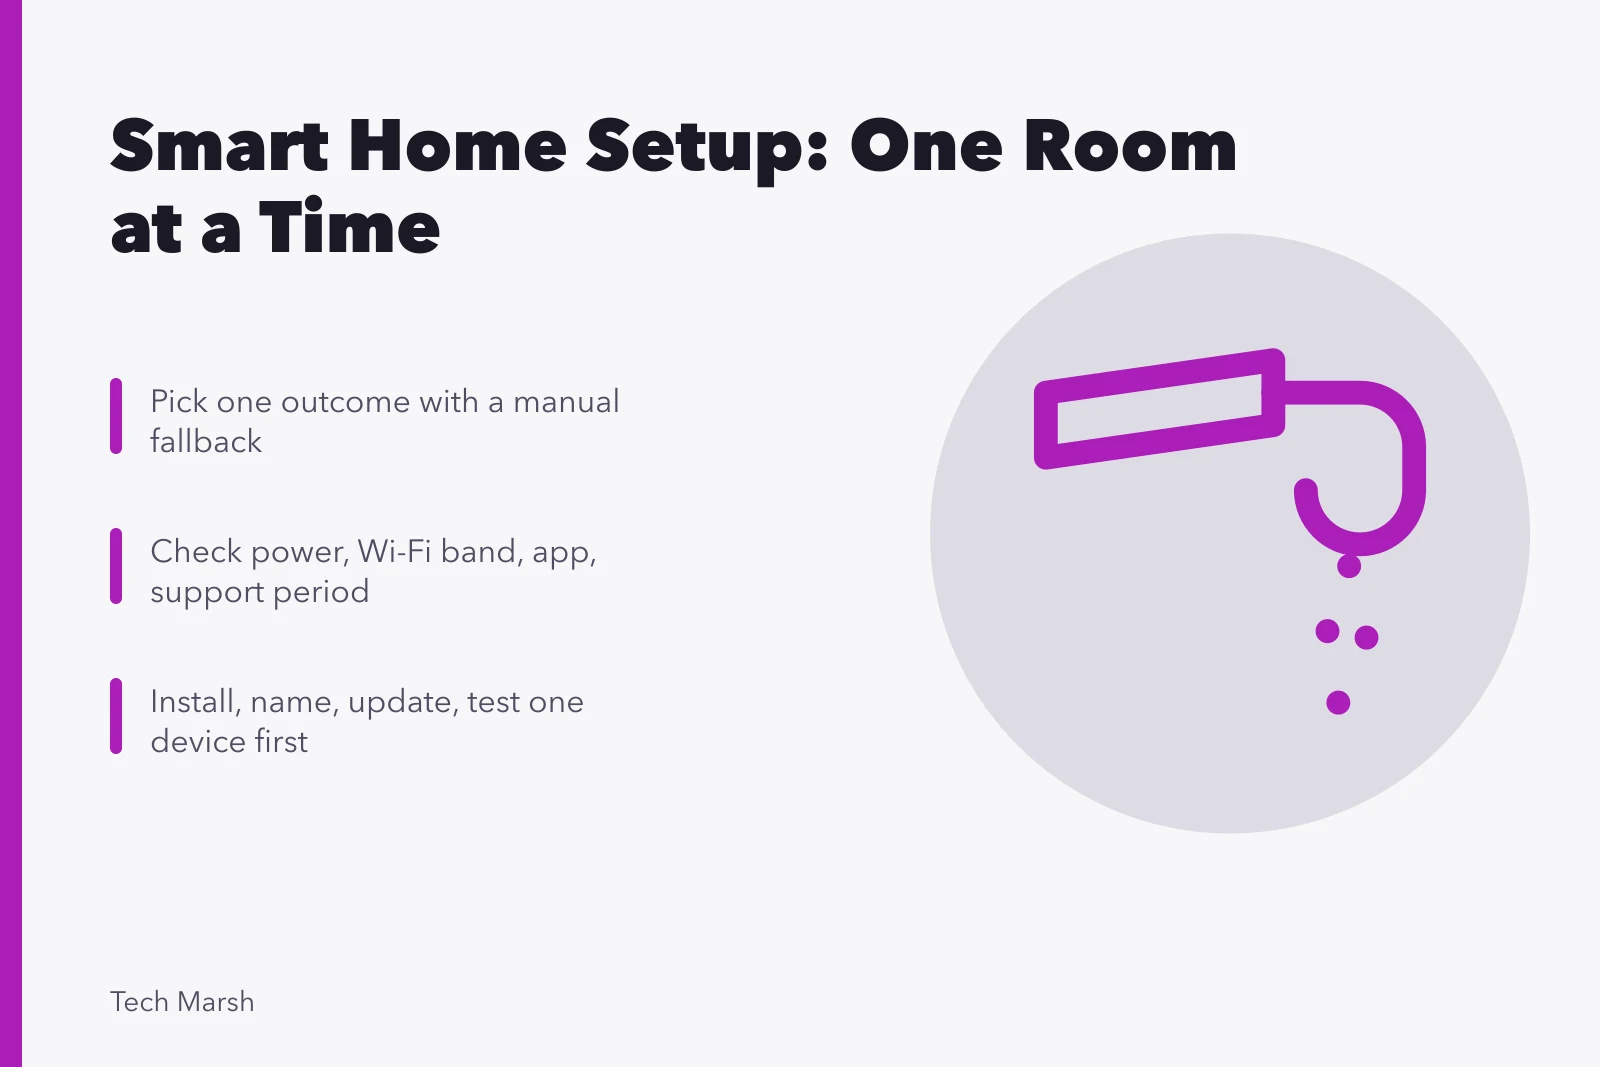
- Begin with one room and one useful outcome so faults stay easy to isolate.
- Confirm power, Wi-Fi coverage, phone requirements, account ownership, and support period before opening boxes.
- Add, name, update, and test one device at a time before creating an automation.
- Keep manual controls available and test behavior during internet, power, and controller outages.
- Record codes, settings, permissions, warranties, and removal steps as part of setup.
The safest first smart home is small. A single room gives the household enough variety to test power, radio range, app permissions, accounts, automations, and manual fallback without turning every fault into a whole-house mystery. What each of those layers does is mapped in the smart home systems guide.
Step 1: choose one outcome
Pick a result that stays useful without novelty. Examples include a lamp that turns on at a safe low level after motion, a thermostat schedule residents can override at the wall, or a water sensor that sends an alert and sounds locally.
Write the manual fallback next to the outcome. If nobody can turn the light on, set the temperature, or open the door when the app fails, redesign before buying.
Step 2: inventory what the device needs
Read the current manufacturer setup page for the exact model. Check:
Device Requirements Checklist
- Mains power, battery, neutral wire, transformer, or pro install
- Supported Wi-Fi band, Bluetooth, Thread, bridge, or hub
- Required phone OS and app
- Account, cloud, subscription, or location requirements
- Compatibility with existing controller and desired feature
- Software-support period, warranty, and return deadline
A logo can indicate certification for one standard, but it does not promise that every platform exposes every feature. Confirm the specific function you plan to use.
Step 3: prepare accounts and network
Decide who owns the household account. Use a unique password and the strongest practical multi-factor method. Save recovery codes outside the primary phone. Do not make a contractor, former resident, or temporary installer the permanent owner. Account ownership and recovery are treated as their own layer in the consumer device security guide.
Prepare Accounts and Network
- Decide who owns the household account
- Use unique password and strongest multi-factor method
- Save recovery codes outside the primary phone
- Update router and controller first
- Check for pending firmware updates during installation
- Confirm strong coverage where the device will live
Update the router and controller first. Smart devices run firmware, the maker's low-level software stored on the device itself. Firmware releases carry the bug and security fixes these products depend on, so check for pending updates during installation rather than after a problem.
Confirm strong coverage where the device will live, not only beside the router. Write down the network name without sharing the router administrator password unnecessarily. Coverage at fixed devices is worth remeasuring after any router change, as the home network maintenance and security checklist sets out.
Step 4: install one device
Follow electrical, heating, lock, smoke-alarm, plumbing, and mounting instructions for the product. Use a qualified professional when the work requires it. A connected feature does not change the physical safety rules.
During commissioning:
Commission One Device
- Scan or enter code from household account
- Give device a plain, unique name
- Assign the correct room
- Install available firmware before routines
- Test local physical and app control
- Record model, serial, code, reset method
The CISA handout on protecting a digital home emphasizes securing the home router, using multi-factor authentication, keeping software current, and understanding privacy settings. Apply those controls to the account and network before adding more devices.
Step 5: invite household members carefully
Invite named users rather than sharing the owner's password. Check whether a role can see camera history, open door locks, change automations, add devices, make purchases, or invite others.
Show every resident the manual control, status indicators, and mute or privacy controls. Agree on recording and occupancy sensing. Provide an accessible interface for residents who cannot use the default app or voice method. Matching the interface to the person and the task is the method in the accessible technology guide.
Step 6: build one automation
Use one trigger and one action first. Confirm that the trigger is observable and the action has a clear end state. Add conditions only after the simple version works.
Test:
Automation Test Checklist
- Expected trigger and result
- No trigger when condition is false
- Manual override before and after automation
- Duplicate triggers within a short period
- Restart of device and controller
- Time zone, schedule, and daylight-saving behavior
Avoid circular rules such as one routine turning a device on while another immediately turns it off.
Step 7: test outages
With everyone warned, disconnect internet access briefly while keeping the local network on. Note which controls, automations, histories, and alerts remain. Then test controller restart and a short device power loss.
Do not simulate an outage on a safety-critical system unless the manufacturer provides a safe test method. Use the product's official test control for alarms and similar devices.
Step 8: document the room
Keep an accessible inventory with account owner, device name, room, network type, hub or bridge, battery, support end date, subscription, automation, reset instructions, and manual fallback. Store pairing codes securely.
Live with the room for at least several days before expanding. Track false alerts, missed actions, confusing names, battery drain, voice errors, and household objections. A month-long log used the same way to settle a network decision appears in a home network upgrade case. Fix those before copying the design elsewhere.
Common questions
Should I add every device before creating routines?
No. Add and test one device, then one simple automation. This keeps failures easy to locate.
Can I use one shared household password?
Named invitations are usually better because permissions and removal are clearer. Platform behavior varies.
Do I need a separate Wi-Fi network?
Network design depends on router capability and device needs. Isolation can help, but poor configuration can block discovery or control.
When is the first room finished?
When residents can use it, override it, recover from common failures, and explain what data and accounts it depends on.