

Guides
Part of Getting accessible technology right the first time
Turning on accessibility features without losing what already works
Accessibility feature setup guide for documenting a baseline, changing one control at a time, testing real tasks, and preserving a reliable fallback.
What to take away
- Write down the current device, software version, account, and working input method before making changes.
- Set up the emergency shortcut and fallback method before tuning advanced controls.
- Change one feature at a time, then test a real task and the path back to Settings.
- Use a separate profile or test account when a change could interrupt work or communication.
- Record stable settings in an accessible format and test them again after major updates.
Accessibility setup is safest when the user can always return to a known working state. The goal is not to switch on every option. It is to build a dependable path through the tasks that matter. Choosing which tasks those are comes first, in the accessible technology guide.
Before changing anything
Gather the device model, operating-system version, account name, charger, connected accessories, and support contact. Confirm that important files are backed up. A backup counts once a test restore has succeeded, as the laptop upkeep, backup, and security checklist puts it. If the person depends on the device for urgent communication, arrange another working method first.
Write a baseline note with:
- current text size, display scaling, volume, and input method;
- features already active and the shortcut for each one;
- paired braille displays, hearing devices, switches, keyboards, or controllers;
- custom gestures, vocabulary, voices, or button assignments;
- the quickest path to assistance if the screen or sound becomes unusable.
Take screenshots only if the user can access them later. Plain text, braille, audio, or large print may be a better record.
Step 1: define three tasks
Choose three concrete tasks, such as opening email, joining a call, and completing a form. Add one recovery task, such as returning to the Home screen or closing an unwanted dialog.
For each task, define success. Measure completion, errors, unwanted assistance, fatigue, and privacy. Speed matters only after the method is accurate and comfortable. Nobody should hesitate to tune these settings: the W3C's accessibility perspectives present captions, keyboard compatibility, text to speech, customizable text, and speech recognition as features that are essential for people with disabilities and useful for everyone else.
Step 2: enable the access shortcut
Most platforms offer a button combination, lock-screen control, menu, or voice command for selected accessibility features. Configure the shortcut before changing display, speech, touch, or input behavior. Practice turning the feature on and off from a neutral screen.
Keep a second input path available. Examples include a connected keyboard while testing voice control, a sighted display while learning screen reading, or the original controller while mapping external switches.
Step 3: tune one output setting
Begin with the main way information reaches the user:
| Need | First setting to test | Check for |
|---|---|---|
| larger visuals | text size or magnification | clipping, hidden buttons, horizontal scrolling |
| spoken output | screen reader and speech rate | focus order, labels, private content |
| hearing access | captions or visual alerts | speaker labels, delay, missed non-speech sound |
| reduced distraction | motion and notification controls | missing status changes or reminders |
Complete all three tasks before changing another output control. If a setting makes one app unusable, record the app and exact screen rather than assuming the entire feature failed.
Step 4: tune one input setting
Input controls affect how mistakes happen. Adjust timing, repeat rate, pointer size, dwell, gesture sensitivity, voice commands, or switch scanning in small increments. Test selection, cancellation, scrolling, text entry, and recovery.
Every major platform ships this range of built-in accessibility options: magnification, screen readers, and high-contrast themes for vision; captions and visual alerts in place of sounds for hearing; sticky keys, switch input, and speech recognition for motor access. Menu names and groupings differ between systems and versions, so follow the documentation for the device in hand.
Step 5: add hardware carefully
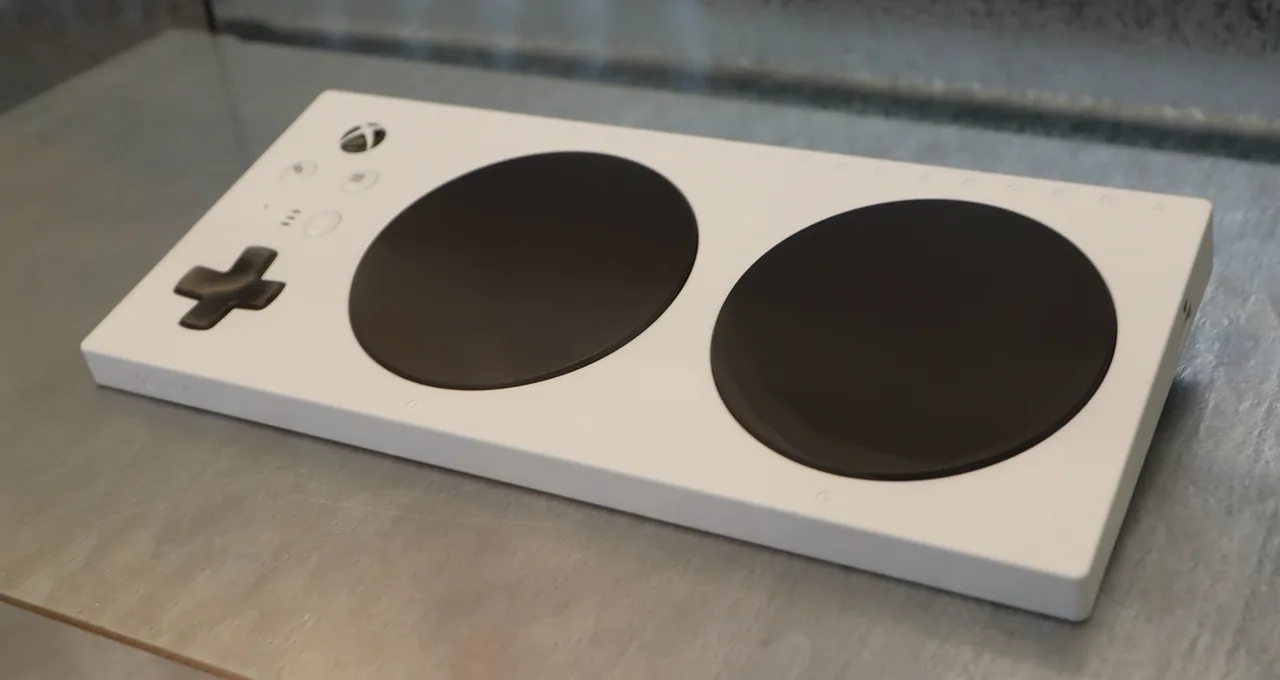
For a switch, alternative keyboard, braille display, hearing device, or adaptive controller:
- Charge or power the accessory.
- Install only the required trusted driver or companion app.
- Pair or cable one accessory at a time.
- Confirm that disconnecting it does not strand the user.
- Label ports and cables in a usable format.
- Save a copy of mappings or profiles when the platform allows it.
Do not assume a connector proves compatibility. The operating system, game or app, adapter, firmware, and accessory profile all matter. That gap between connector shape and capability is set out in cellular, Wi-Fi, Bluetooth, NFC, and GPS compared.
Step 6: test locked, offline, and restarted states
Some features behave differently before sign-in, without internet access, during an update, or while battery-saving controls are active. Restart the device, sign back in using the chosen method, and repeat the core tasks. Disconnect the network briefly if doing so will not interrupt managed services.
Check whether spoken or visual alerts expose private content at the lock screen. Review notification previews, microphone access, cloud processing, and shared-device behavior with the user. Lock-screen exposure and permission scope are handled as security controls in the consumer device security guide.
Step 7: document and hand over
Record only the settings that proved useful. Include shortcuts, accessory names, charging routine, restart steps, backup location, and support route. The user should perform the final test without prompts from the person who configured the system. A final acceptance test run by the eventual user also closes how to set up a new laptop.
Schedule a brief review after several days and after the next major update. Remove failed experiments so they do not create accidental shortcuts or confusing choices.
Common questions
Should every accessibility feature be enabled during setup?
No. Enable and test only features tied to the person's tasks or requested preferences.
Why test after restarting?
Startup, sign-in, paired accessories, and access tools can behave differently from an already open session.
Is a screenshot enough documentation?
Only if the user can retrieve and interpret it. Choose a format the user can access when the main setup has failed.
When should professional support be involved?
Seek qualified help when the setup affects medical devices, formal accommodations, safety, complex communication, or specialized training.